WHEN you think of canned or tinned tuna, it is easy to divert your attention down the aisles of your local supermarket for the mass-produced tins that cost only a few dollars. They are accessible, but it does come at a cost. The thought of canning your own fish at home seems like a good idea to put in the “too hard basket”. I’m here to tell you to think twice.
The process is simple once you have the right setup. A small investment to get you off your feet will pay huge dividends in flavour, shelf life and sustainability. You no longer have a confined timeframe to consume your fish. Particularly for those into game fishing, where a single fish can be hard to even get rid of at times. With proper canning, you can waltz into your pantry and pull out a jar 12 months later and be blown away at the quality of the contents.
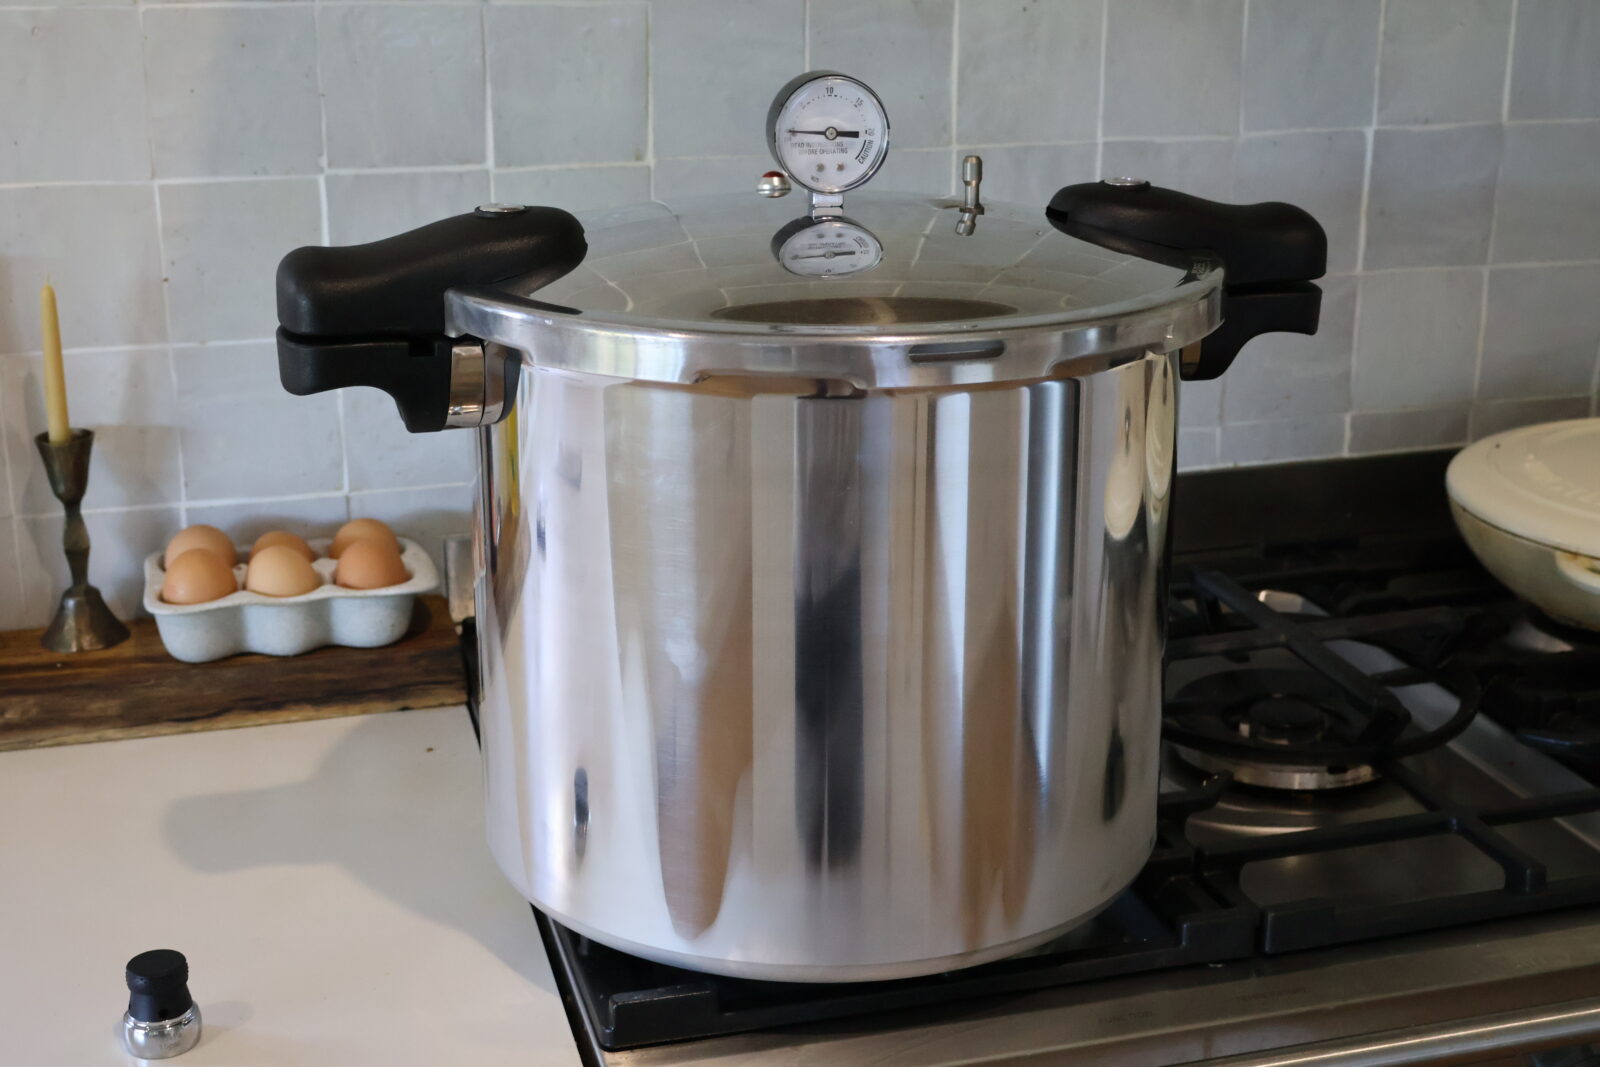
Here is what you need:
- Pressure canner – not cooker
I hear that canning is possible with a pressure cooker or even just a pot. However, the risk of contamination is far greater and the shelf life is reduced. Using a pressure canner is reassuring that the cans will be sterilised and freshness locked in. Pressure canners will also halve the cooking time due to the higher temperatures they can withstand.
The Aussie Mushrooms 23 Quart Induction canner cooks on gas, induction or electric and is made of high-quality aluminum. You can also fit up to 30 200ml jars when stacking them in a single session, which makes the process efficient and worth the effort. Which, to reiterate, the effort needed is minimal once the correct tools are acquired.
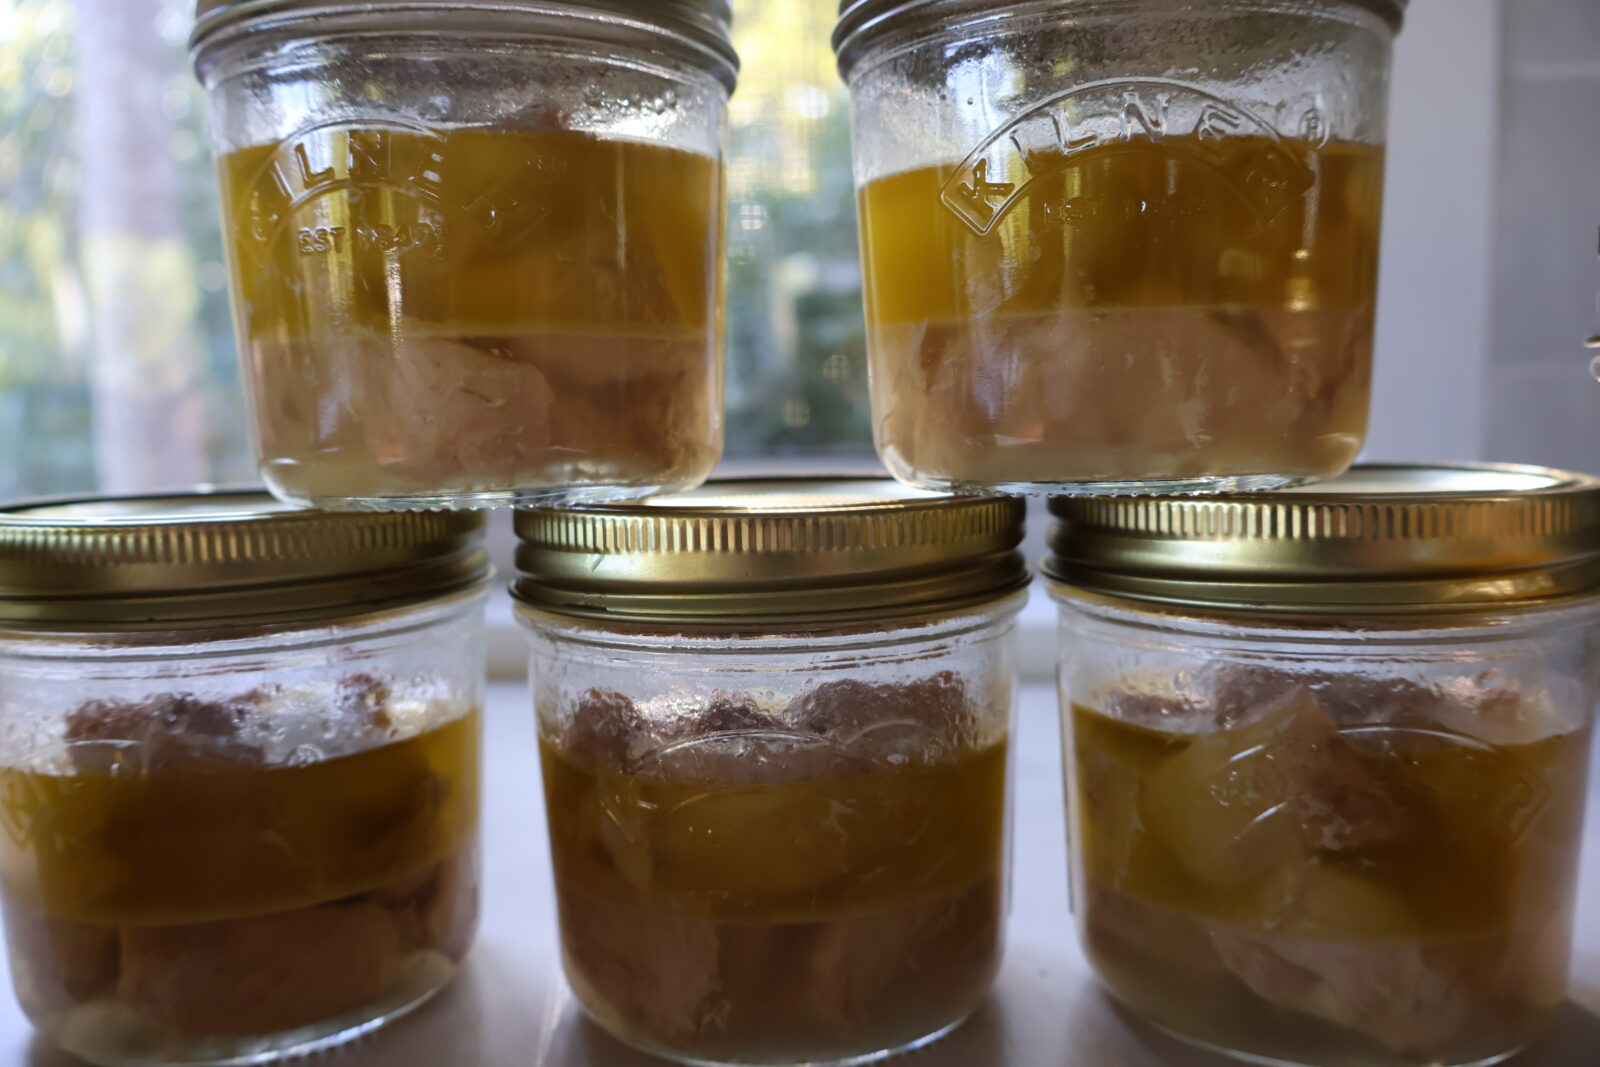
- Canning Jars
You could go down the road of recycling old jars. This could complicate the process for a number of reasons. It will be difficult to stack your cans evenly due to the potential height changes of the jars. They need to be level; if jars are not stable under the intense pressure of canning, it opens the doors to smashed jars. The obvious challenge is the potential for previous flavours and bacteria to be transferred towards the newly canned fish.
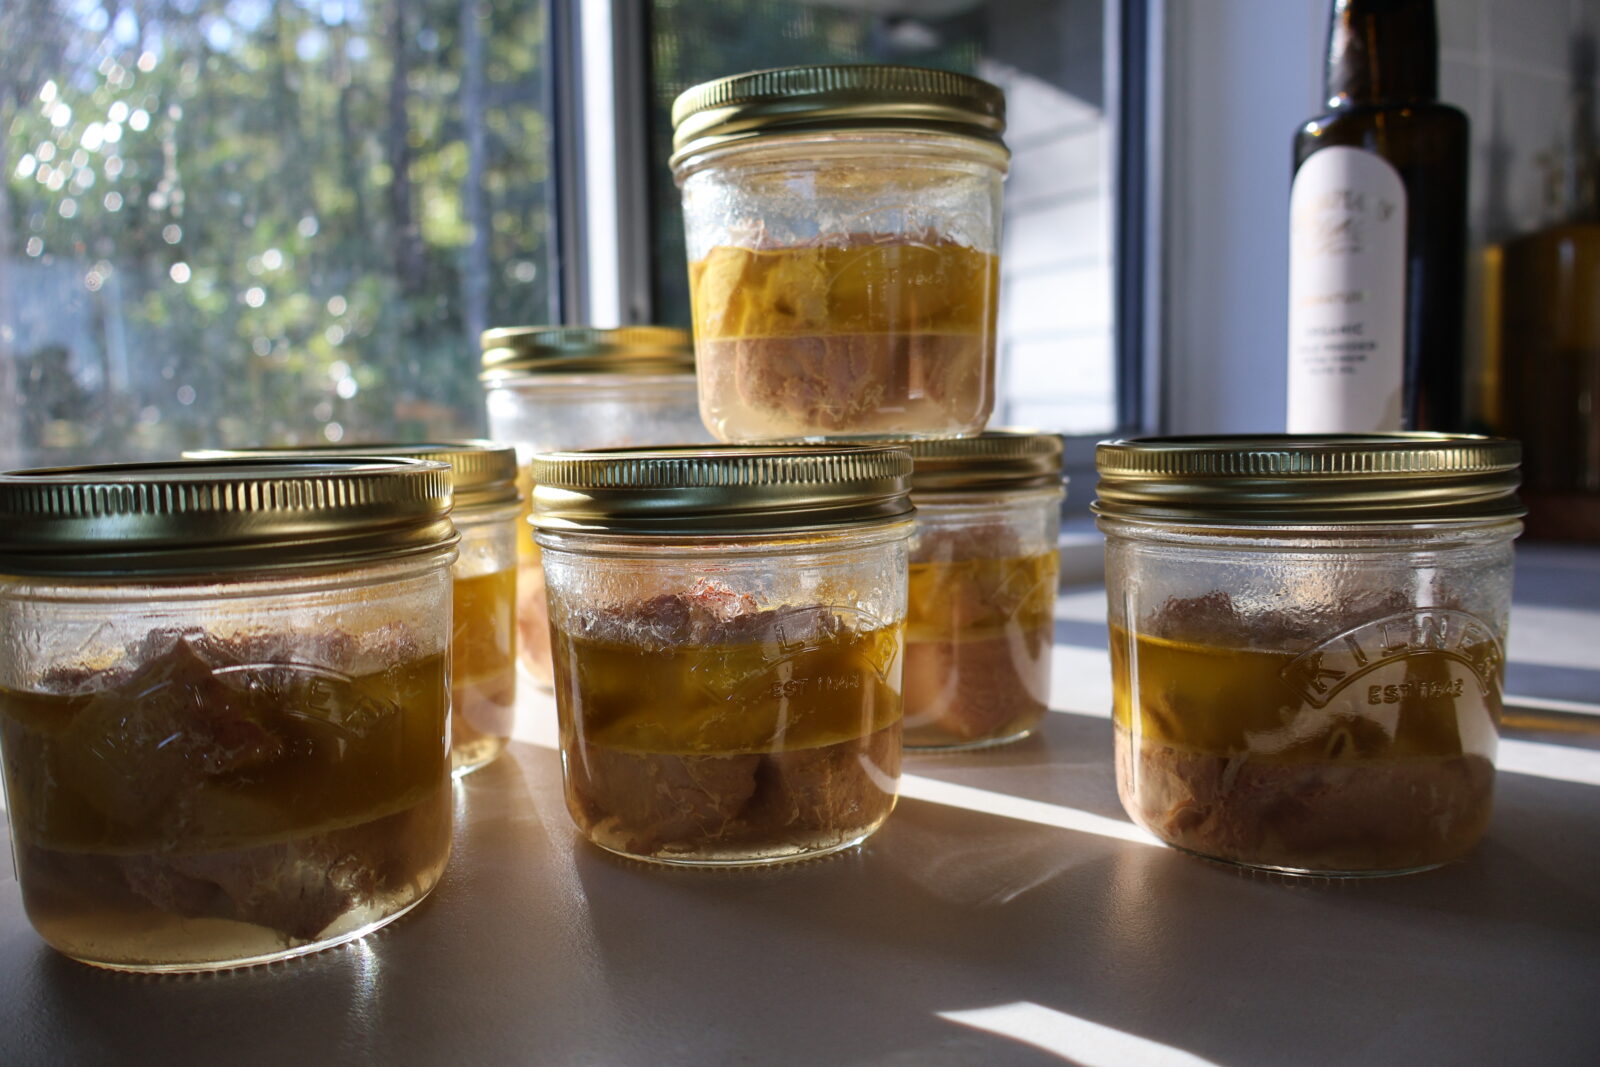
Kilner canning jars are purpose-built. The wide-mouth jars are ideal for packing the fish. I used both 200ml and 300ml cans. I think the smaller size is better as you can can more jars in a single canning cycle and they are a more convenient size for taking to work or using on a single meal. The lids come in 2 sections: the rim and the top. They can be used 12 times before needing to be replaced. Using recycled pantry jar lids has a higher risk of the integrity of the seal being undermined. The Kilner jars look fantastic and are a great look for a gift or even better, stashed in the bottom drawer of your office table for an emergency healthy protein snack.
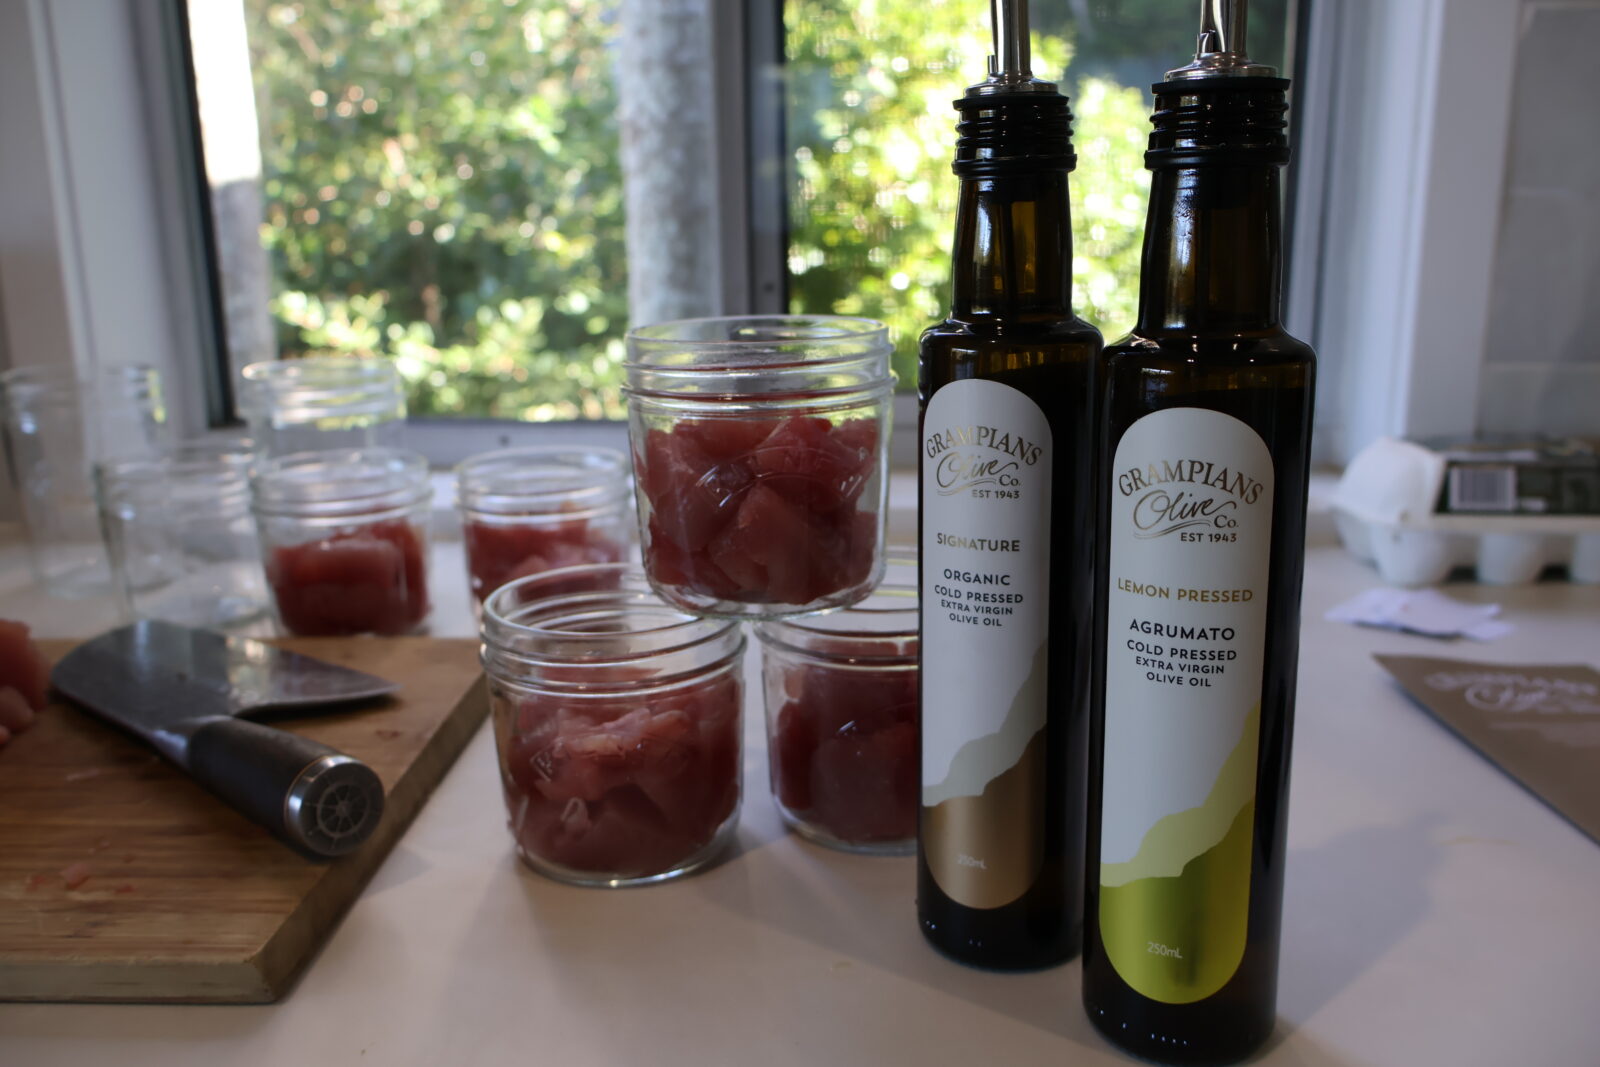
- High-grade olive oil
Next time you are purchasing your olive oil double-check if there is a clearly distinguished harvest date on the labelling. If there isn’t, it means that the oil is a blend and likely contains the oil of older grapes. Canning with Extra Virgin Olive Oil (EVOO) is key, a genuine EVOO has been extracted mechanically without excessive heat or chemicals, which enhances the flavour profile, keeps healthy monounsaturated fats intact and more importantly for canning, adds stability. A high-grade EVOO is far less likely to go rancid, which is critical if you are planning or storing your tinned fish long term.
Grampians Olive Co. is an Australian-owned organic and cold-pressed EVOO producer. They have been operating since 1943 and are one of Australia’s oldest groves. When you compare the flavour and mouth feel of their olive oil to generic olive oils, it is clear to see why there is a premium price. I try to use their oil fresh to maintain the integrity of unfiltered and unrefined flavours, for example, on salads or to dress and serve seafood. It is what olive oil is supposed to taste like. Canning with fish adds heat, the flavour and shelf life are uncompromised.
Grampians Olive Co. also do an infused lemon EVOO, which I added to a few of my jars. I only used a few teaspoons of this to not overwhelm the flavour, as it will intensify during the pressure canning.
The Canning process – Catch and Cook style
I was lucky enough to be dropped off a longtail tuna by Matt Wells, a kayak enthusiast from New Zealand, on a fishing holiday along the East Coast. He was picking up some new rods from PENN, who used my home as an address for the homeless nomad. Early May is one of the best times to fish for longtail on the Coffs Coast, and Matt got his arms stretched and kayak towed by plenty of decent tuna.
Having recently acquired the Aussie Mushrooms Pressure Canner, I knew that this fish was destined for processing the very next day to be preserved in the Kilner jars, coupled with the Grampians EVOO.
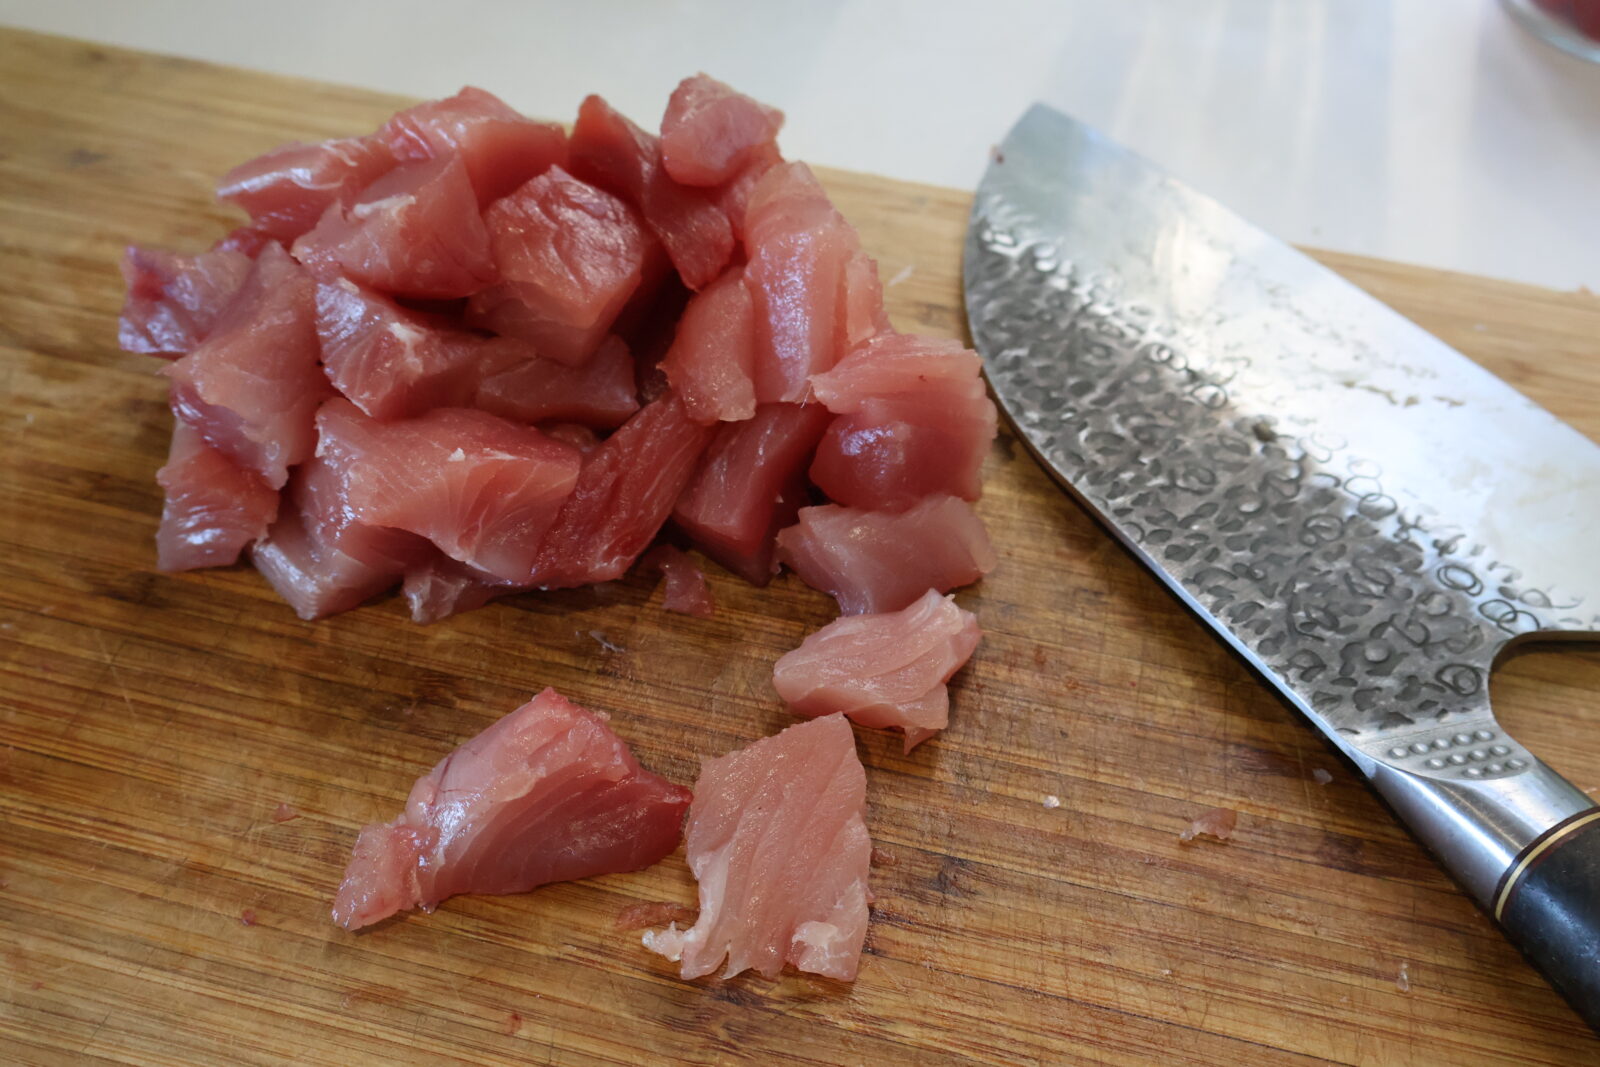
Step 1: Processing the fish
The fish was in great condition when I took it off Matt’s hands. I refrigerated it overnight, ready for filleting the next day. The beauty of canning fish is that any little offcuts that you can’t reach in the filleting process can be liberated from the frame and placed in the jar.
The key element to the fish that is preserved is that all bloodline needs to be removed, as well as any sinuous, dense flesh.
Step 2: Filling the jars
It is important not to squish the tuna into the jars. I tried to cut chunks that were bite-sized pieces and layered the jars. Ensure that there is a headspace left above the line of the tuna in the jar, about an inch. If this headspace is inadequate, the pressure build-up will break the glass. The tuna will leach some fluid during the canning process, which is normal and also requires some space. The tuna itself will shrink, so you are left with similar volume to your starting level.
You can add a brine if you like, with a few tea spoons of olive oil. I chose to only use EVOO and filled the jar to the height of the tuna. I didn’t bother going above. The olive oil isn’t what is preserving the fish, so it doesn’t need to cover all of the tuna chunks.
I lightly salted each jar with some quality pink flake salt.
You can add a bay leaf, pepper corns, dried herbs, lemon zest or dried chilli for flavour. Avoid fresh herbs, they can darken and create a swampy flavour and trap air that contributes to poor sealing.
Step 3: Screwing the lids on
Well, this may not need a complete step to explain. Place the circular flat lid across the open mouth and screw down the rim. Finger tight, then a quarter turn loose to allow for air to escape and accomodate for the vacuum sealing of the lid. The process has been a success when the lid sucks down and cannot be pressed when closed. When opened you’ll hear that beautiful popping sound that only a freshly opened jar can make. Keep reading to find out what to do if your jars haven’t sealed properly immediately after canning.
Step 4: Water bath and Venting
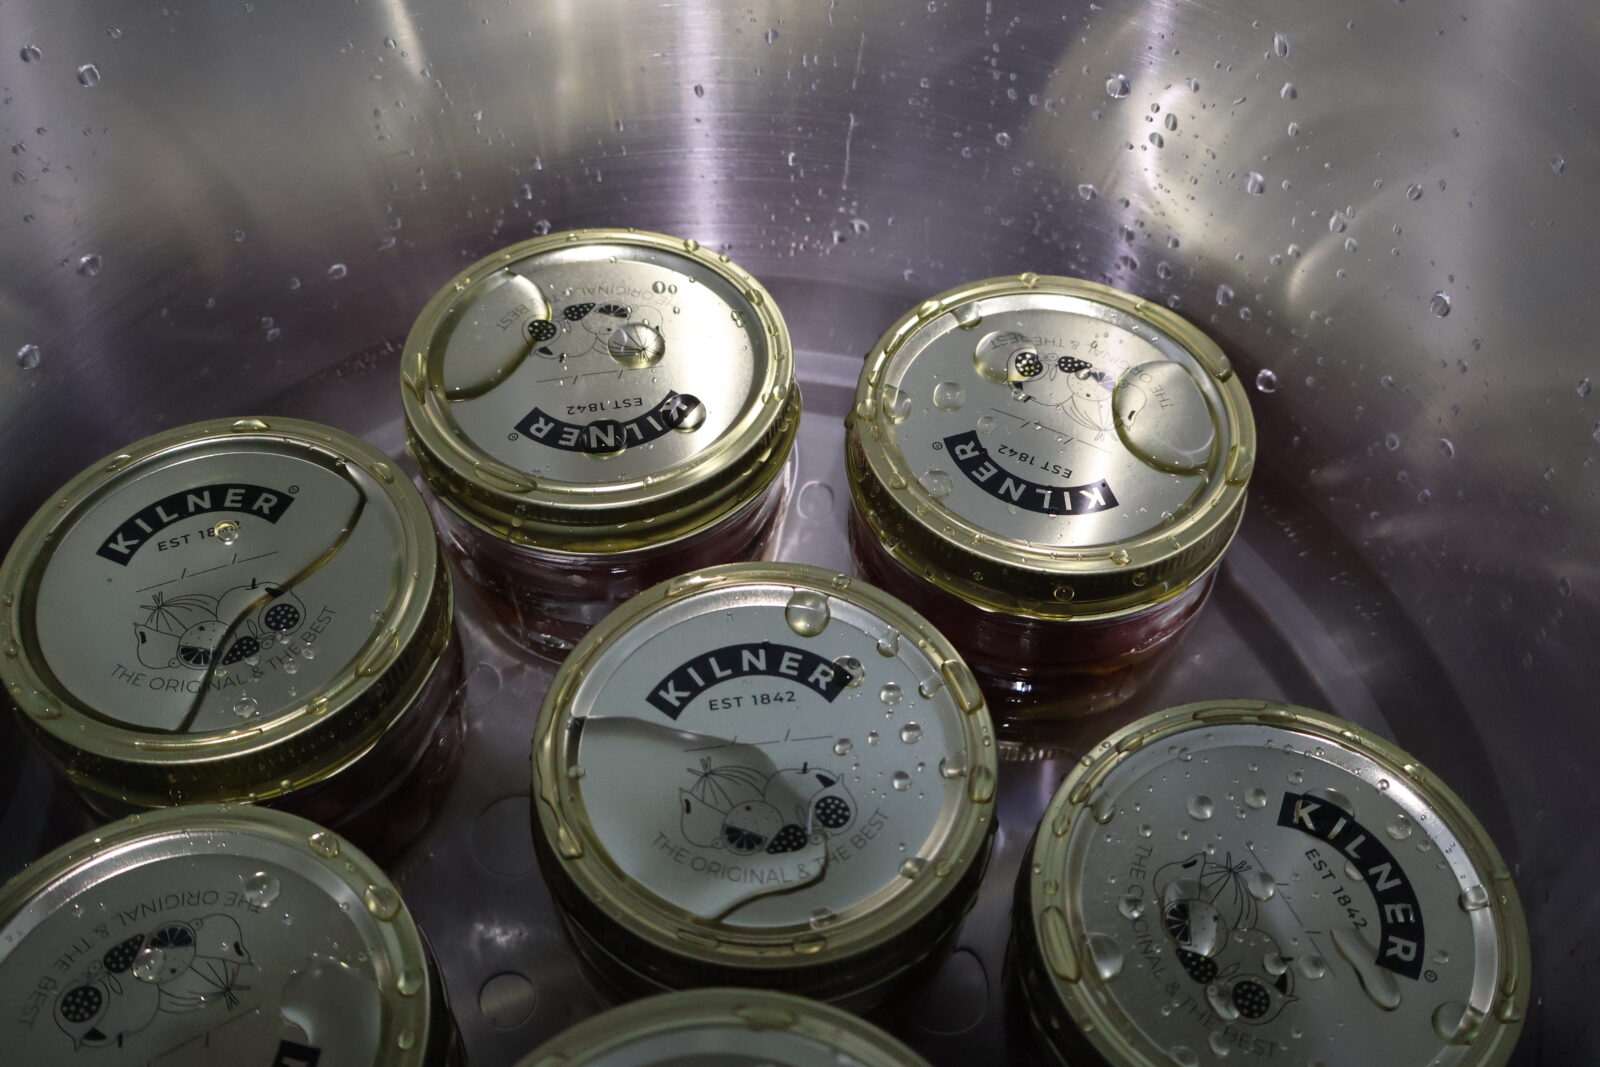
The Aussie Mushrooms canner has a rack that needs to sit on the bottom of the canner. For every layer of jars it is recommended to use another rack to separate and reduce the risk of broken jars. If you are layering, make sure that each layer has the same sized jars. Aussie Mushrooms suggest that you don’t need the rack if you evenly distribute the jars and they are all well supported.
Jars need to start off warm. I sat them in warm water for 5 minutes before stacking.
Once the jars are in place the water needs to be added to the pressure canner. The water does not cook the fish, the steam is what steralises everything. Make sure that the water does not cover the lids, this will impact the effeciency of air transfer. An ideal height for the water vath is at the line of the tuna on the bottom row, an inch from the lids.
Venting is a critical step, it replaces the air inthe pressure canner with steam. Turn the stove-top onto high heat with the regulator removed from the the canner lid. Secure the lid after checking that the rubber insert is lined up. When you fell the lid click you know you have a good seal.
Once steam imits from the regulator vent, start a timer for 10 minutes. In this time the air will be replaced by steam. Place the regulator back over the vent.
Step 5: Presurisation and canning
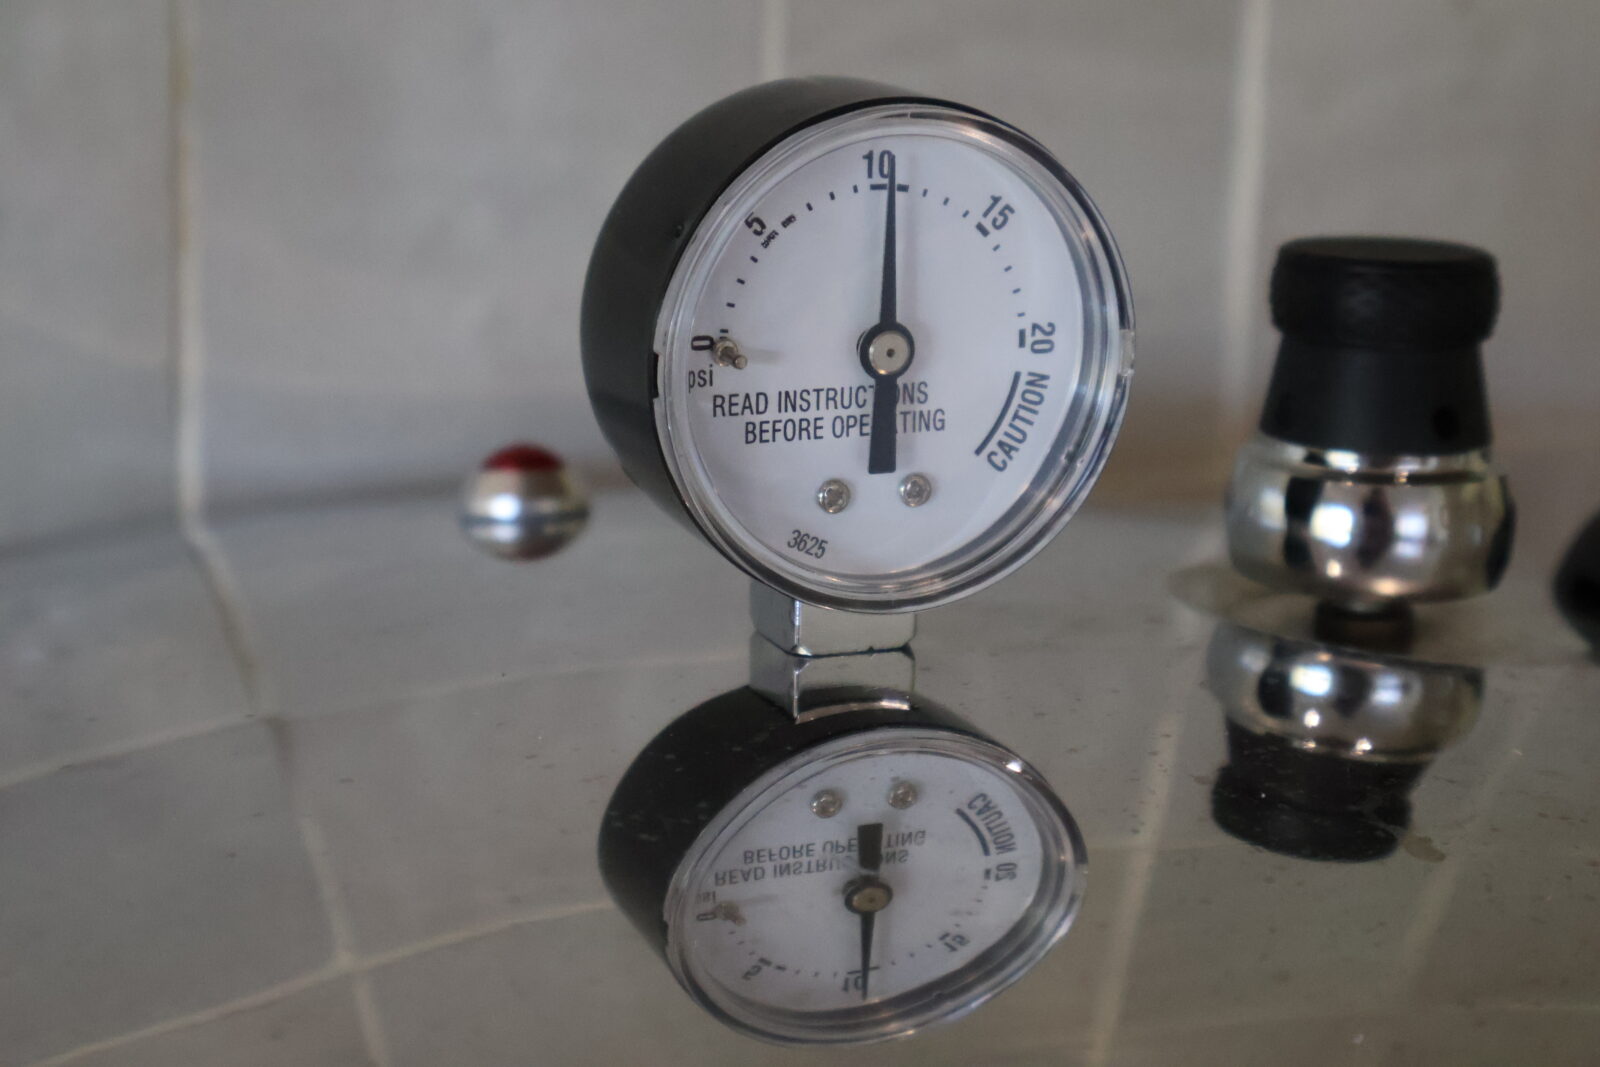
The tuna will need to be pressurised for 100 minutes at 10 PSI. If the pressure drops drastically during this time, adjust the heat to bring it back to 10 PSI and restart the cooking clock to 100 minutes. This will ensure a safe seal.
After venting, on my stove top, Slowly dialed the heat down and was satisfied with the pressure just above a low level heat. The pressure gauge slowly rose and was fairly stable at 10 PSI throughout cooking.
I checked the gauge every 5 minutes or so, but you can hear the pitch of the whistle change when the pressure rises or falls. I would temporarily adjust the heat without letting it fall too far or too high.
Step 6: Removing the cans
It can be tempting to take the regulator off after 100 minutes elapse. But part of the process is the steady depresurisation of the cooking chamber. The regulator will stop whistling once the pressure is stable and the gauge will fall back to 0 PSI. I kept the jars in this environment for about an hour. I then removed the jars and placed them on the window sill. Some of the jars were still bubbling, which meant that air was escaping.
At times, jars will not be vacuum sealed until the jars completely cool. Patience is required. Any that have sealed can be placed in the pantry and consumed when ready. Those that haven’t sealed can be kept out of the fridge for 24 hours, if there is no change, place them in the fridge and consume within 3 – 5 days. They will still taste delicious. You can check the lids by pushing on the top; if there is a clicking sound, they haven’t sucked down properly.
Recipe ideas
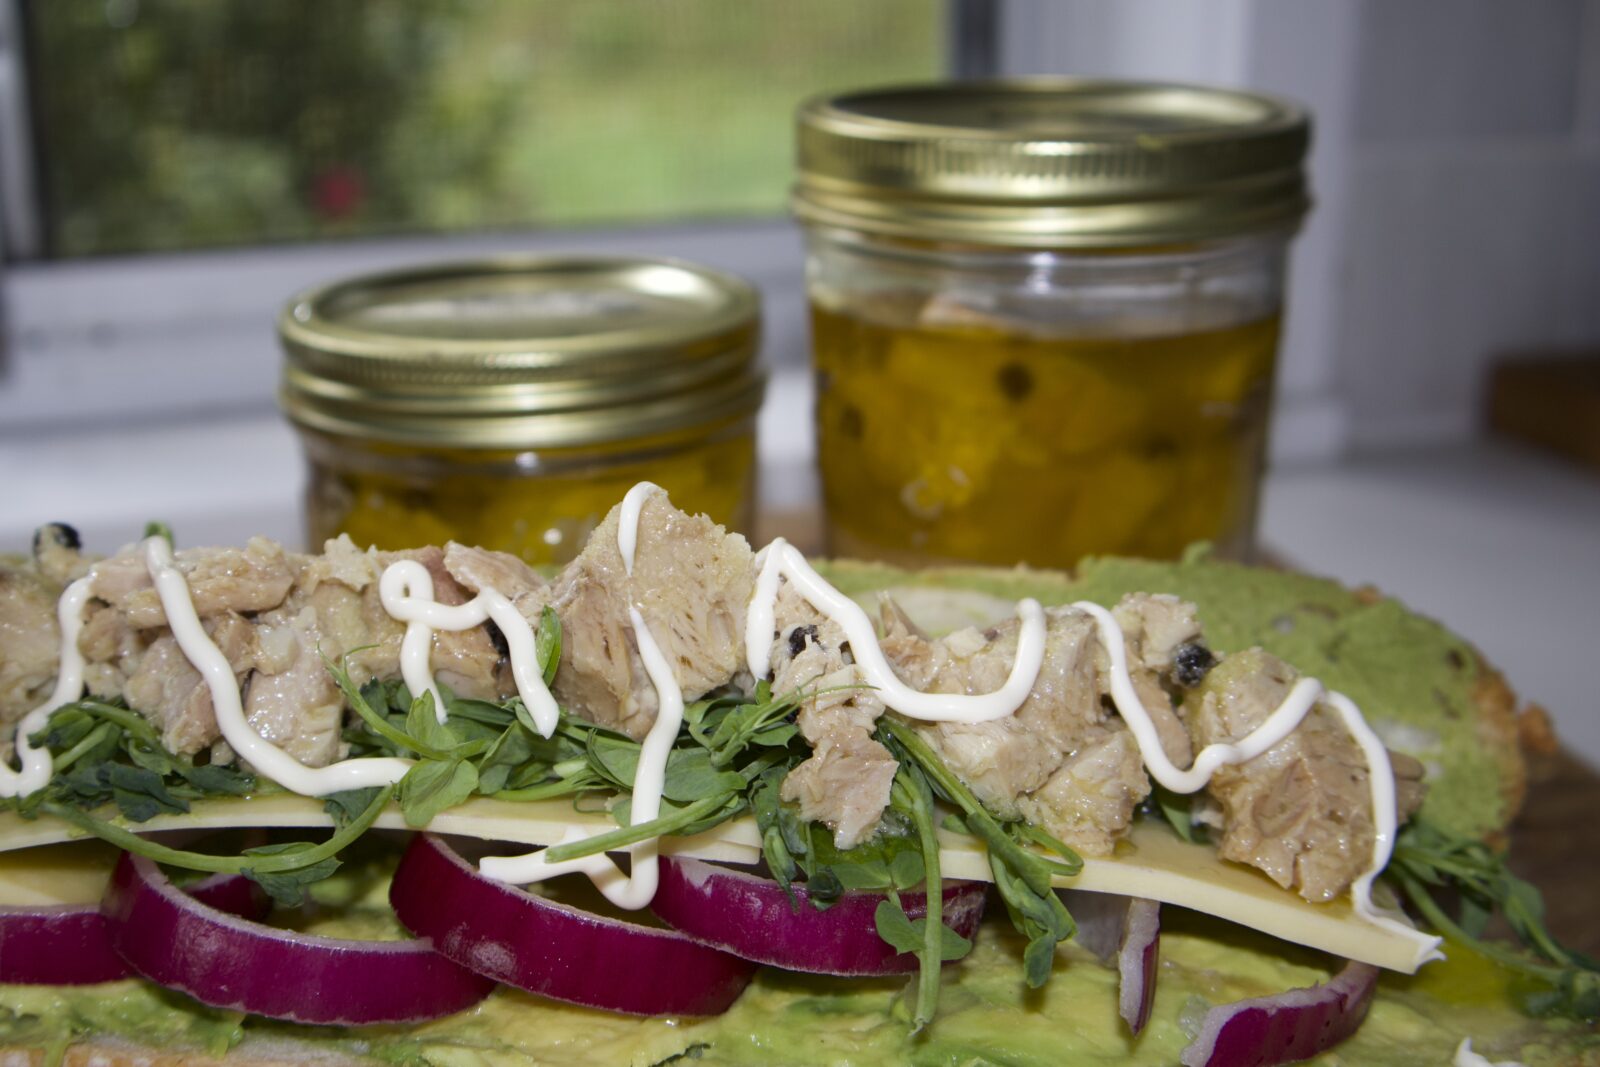
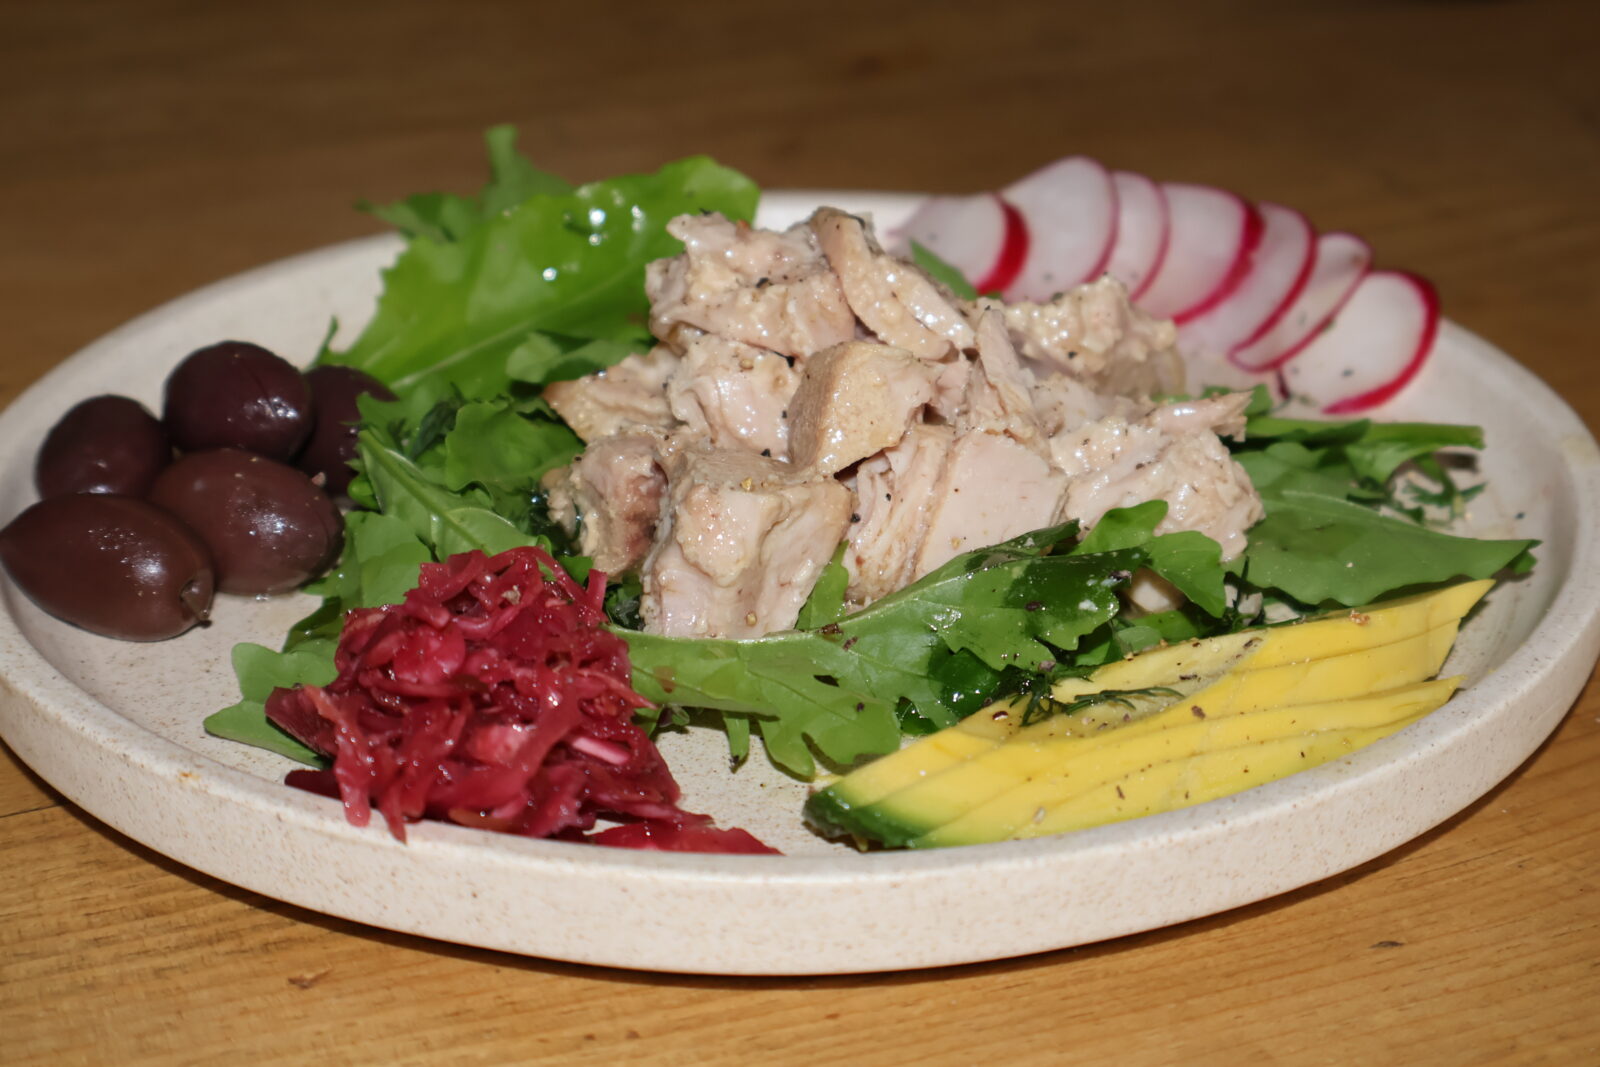
Anything you would use canned fish for. In terms of tuna, stereotypically they end up on wraps and sandwiches, in salads and pastas. These jars of home-preserved tuna will serve this role perfectly. However, they can also be treated as a premium product. Tuna rice bowls or tuna melts are slight variations on the traditional ‘got to’s. Or… get adventurous and try accompanying your fish with recipes such as a Mediterranean-style ‘tomato braised tuna beans’ slow-cooking onion, garlic, tomato and cannoli beans before adding the protein.Tuna Crostini’s involve whipped ricotta on toast with lemon zest, chilli flakes and herbs. Nicoise-style salads are the perfect dish for the flaky tuna in your jars, green beans, potatoes, egg, olives, tomato and pickled onions to graze over. I guess the possibilities are endless…
When I tried my first jar using this method, I was nervous. But the exquisite texture and flavour made me question the processes of creating every other tin of tuna I had had before this one. I’m sure I have plenty still in the cabinet that will extend its shelf life well and truly past the tuna season.